Self-Hosting LinkStack for My Social and Professional Links
Deploying LinkStack with Docker and Cloudflare Tunnel to create a self-hosted landing page for my professional profiles, technical projects, resume, and Technical Lab Journal.
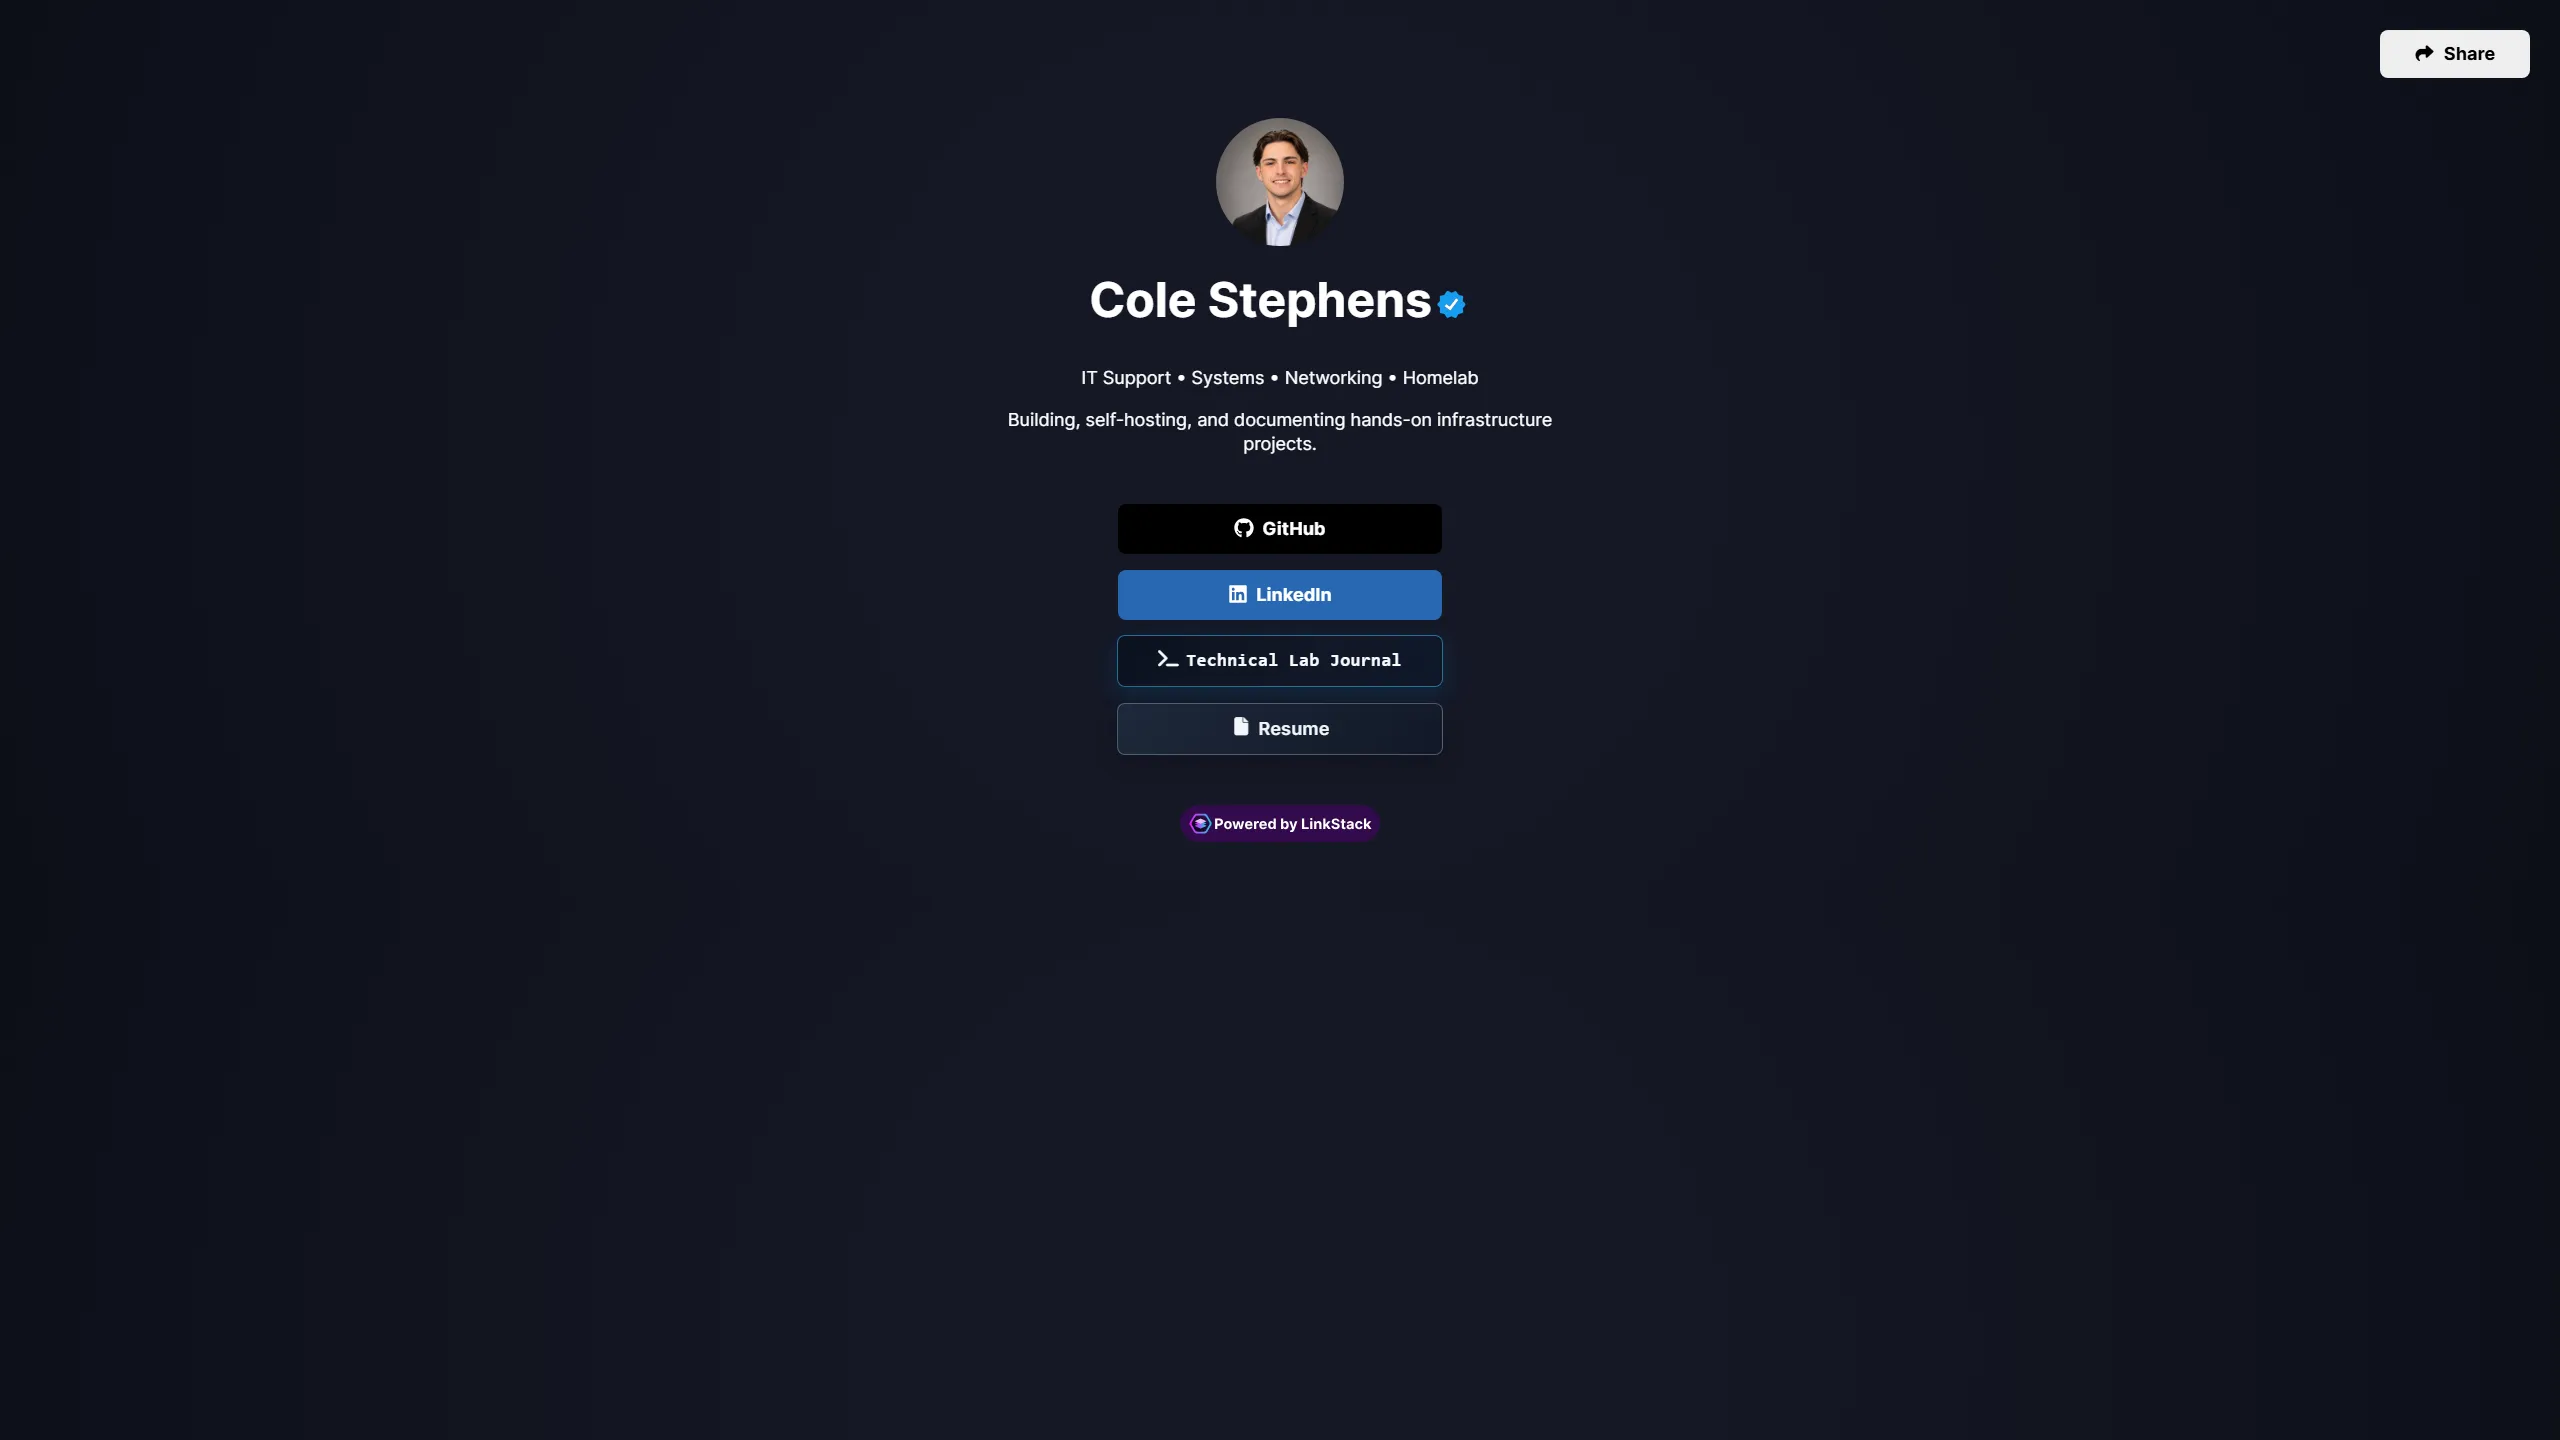
As I continue building out my public technical portfolio, I wanted a simple place where I could collect the different parts of my online presence behind a single URL.
I already have several resources that serve different purposes: LinkedIn for my professional background, GitHub for structured homelab documentation, my Technical Lab Journal for longer project write-ups and troubleshooting notes, and my resume for job applications.
Rather than relying entirely on a hosted link-in-bio service to connect everything, I decided to deploy LinkStack and host the landing page myself.
The application itself is relatively simple, but deploying it gave me another opportunity to work through the same infrastructure layers that support much larger services in my homelab: containers, DNS, secure external access, TLS, and troubleshooting.
Why LinkStack?
The goal was straightforward: create one clean public page that could direct visitors toward the different parts of my technical and professional presence.
The finished page links to:
- GitHub
- My Technical Lab Journal
- My resume
LinkStack was a good fit because it provides the functionality I wanted while still allowing me to operate the service on infrastructure I control.
It also follows a deployment pattern that has become common throughout my homelab:
Application
    │
    ▼
Container
    │
    ▼
Networking
    │
    ▼
DNS
    │
    ▼
Secure Public Access
    │
    ▼
Custom Domain
Although the finished product is just a links page, several infrastructure components still need to work together correctly for a visitor to reach it.
Deploying LinkStack
I deployed LinkStack within my existing Docker environment rather than creating a dedicated virtual machine or Linux container for such a lightweight application.
Using Docker keeps smaller web applications organized while giving me a repeatable way to deploy, update, and troubleshoot the service.
As with most applications I deploy, I first focused on getting LinkStack working locally before introducing the public-access side of the configuration.
My general deployment process looked like this:
Deploy Application
       │
       ▼
Verify Locally
       │
       ▼
Configure DNS
       │
       ▼
Configure Public Access
       │
       ▼
Test Externally
Working through the deployment in stages helps separate application problems from networking problems.
If the application is already confirmed to be working, troubleshooting DNS or external access becomes much easier because there are fewer unknowns involved.
Customizing the Landing Page
Once the application was working, I customized the page to better match the rest of my public technical presence instead of leaving it as a completely stock installation.
The page includes a short description of what I work on:
IT Support • Systems • Networking • Homelab
along with links to the resources I want visitors to reach most easily.
I kept the overall design intentionally simple. Someone arriving at the page should immediately understand who I am and where they can go next without needing to navigate through another full website.
The four primary destinations are:
- GitHub for structured infrastructure documentation
- LinkedIn for my professional background
- Technical Lab Journal for project write-ups and troubleshooting notes
- Resume for a concise overview of my experience and technical skills
The result is essentially a front door to the rest of my technical portfolio.
Giving the Service Its Own Domain
The LinkStack instance is available through:
links.coleshomelab.comUsing a dedicated hostname keeps the service consistent with the rest of my infrastructure and gives me a much cleaner address to share than a direct server address or application port.
From the visitor’s perspective, the experience is simple:
links.coleshomelab.com
          │
          ▼
       LinkStack
Behind that hostname, however, there are several additional systems involved in delivering the page securely.
Publishing LinkStack with Cloudflare Tunnel
For external access, I decided to use Cloudflare Tunnel.
Instead of exposing LinkStack through a traditional inbound firewall port, a cloudflared service inside my environment establishes an outbound connection to Cloudflare.
Traffic for the public LinkStack hostname can then travel through that tunnel back to the application.
At a high level, the request path looks like this:
External Visitor
      │
      ▼
links.coleshomelab.com
      │
      ▼
Cloudflare
      │
      ▼
Cloudflare Tunnel
      │
      ▼
cloudflared
      │
      ▼
LinkStack
I like this design because the public hostname and the application itself remain separated.
The LinkStack container does not need to be directly exposed to the Internet through its own inbound firewall rule. Instead, the tunnel provides the external path while the application stays inside the Docker environment.
Running cloudflared with Docker Compose
I deployed cloudflared as a container as well.
Keeping the tunnel service containerized makes it consistent with the rest of my Docker infrastructure and gives me a straightforward way to manage or recreate it later.
After creating the Cloudflare Tunnel configuration, I started the stack with:
cd /opt/stacks/cloudflared
docker compose up -d
Docker pulled the required Cloudflare image and started the tunnel container.
I then checked the logs to verify that the service had started correctly:
docker logs cloudflared --tail 50Checking the container logs provided a quick way to confirm that cloudflared was running and establishing the expected connection.
Once the tunnel and hostname routing were configured correctly, LinkStack became publicly accessible through its custom domain.
Testing the Complete Request Path
One thing I try to avoid when deploying a service is assuming that a successful local test means the entire deployment is working.
A self-hosted application can work perfectly from inside the network while still having a problem somewhere in the public request path.
There are several separate layers involved:
Application
    │
    ▼
Docker
    │
    ▼
Tunnel
    │
    ▼
Cloudflare
    │
    ▼
DNS
    │
    ▼
External Client
Because of that, I tested the finished page from outside the normal internal network as well.
This verifies more than just whether LinkStack itself is running. It confirms that DNS, Cloudflare, the tunnel, and the application are all working together.
That kind of end-to-end testing has become increasingly useful as my homelab has grown and more services depend on multiple infrastructure layers.
Separating Public Services from Private Infrastructure
Another consideration with any publicly reachable homelab service is deciding how much of the underlying environment actually needs to be exposed.
Visitors to the LinkStack page only need to see a collection of public links.
They do not need access to or knowledge of:
- Internal IP addressing
- Docker host details
- Administrative interfaces
- Internal DNS configuration
- Network topology
- Management services
- Private infrastructure endpoints
From the public side, the architecture can remain very simple:
Public Visitor
      │
      ▼
Cloudflare
      │
      ▼
LinkStack
Everything required to operate the service remains behind the scenes.
This is also the same approach I use when documenting the homelab publicly: explain the technologies, architecture, and troubleshooting process without publishing unnecessary operational details.
Creating a Front Door for My Technical Portfolio
The most useful part of this deployment is not really LinkStack itself.
It is the way the page connects several pieces of my public technical presence that previously existed separately.
Each resource serves a different purpose.
LinkedIn provides the professional side of my background, including employment history, education, projects, and the direction I am pursuing in IT.
GitHub
GitHub contains structured documentation of the homelab itself, including infrastructure overviews, project documentation, diagrams, screenshots, and technical notes.
Technical Lab Journal
The Technical Lab Journal focuses more heavily on the story behind the infrastructure.
It contains longer project write-ups, troubleshooting workflows, architecture decisions, problems I encounter, fixes I implement, and lessons learned while operating the lab.
Resume
My resume provides a concise overview of my professional experience, technical skills, education, and hands-on infrastructure work.
LinkStack
LinkStack now acts as the front door connecting all of them.
Instead of expecting someone to discover each resource independently, I can provide one address that leads to the rest of my technical portfolio.
A Small Service Can Still Use Multiple Infrastructure Layers
LinkStack was not one of the most complicated applications I have deployed.
That is also part of why I wanted to document it.
A small web application can still involve a surprisingly broad collection of infrastructure concepts.
For this deployment, the finished service depends on:
Docker
  +
Application Configuration
  +
DNS
  +
Cloudflare
  +
Secure Tunneling
  +
TLS
  +
External Testing
  +
Troubleshooting
The LinkStack container itself was only one part of the project.
Making the service reliably accessible at the intended hostname required understanding the complete path between the visitor and the application.
That is a recurring theme throughout my homelab.
Applications rarely operate in isolation. A problem that initially appears to belong to an application may actually be caused by DNS, routing, firewall policy, TLS, storage, authentication, or another dependency elsewhere in the environment.
What I Learned
This deployment reinforced several practices that have become increasingly important as I build and maintain more services:
- Validate the application before adding additional infrastructure layers
- Treat DNS and external routing as separate parts of the deployment
- Use container logs to verify service and tunnel connectivity
- Test public services from outside the local network
- Avoid unnecessary inbound exposure when another architecture is more appropriate
- Keep public services separated from private management infrastructure
- Document both the finished configuration and the process used to reach it
It also reinforced that the complexity of a project is not always determined by the complexity of the application.
The application in this case is intentionally simple.
The more useful learning experience came from integrating it cleanly with the rest of the environment and understanding every layer involved in delivering it to an external visitor.
Final Result
LinkStack is now available at links.coleshomelab.com and acts as the central landing page for my public technical presence.
The finished page provides quick access to my:
- GitHub
- Technical Lab Journal
- Resume
I customized the presentation so it fits naturally alongside the rest of my portfolio instead of looking like an untouched default installation.
From a visitor’s perspective, the experience is intentionally simple: open one page and choose where to go next.
Behind that page are several pieces of infrastructure working together, including Docker, DNS, Cloudflare, secure tunneling, TLS, and the systems hosting the application.
It is a relatively small addition to the homelab, but it gives the rest of my public technical work a much cleaner front door while providing another useful exercise in deploying, exposing, testing, and troubleshooting a self-hosted service.